7 Day Itinerary for Utah and Arizona National and State Parks
March 25, 2023
One of our all-time favorite trips was our trip to the National Parks and other state parks in Utah and Arizona! We’ve traveled to many national parks and the parks on these trips continue to stick out in our minds. This trip was packed with all the natural beauty that Utah and Arizona have to offer. From the beautiful hoodoos of Bryce Canyon National Park to the jaw-dropping and seemingly everlasting canyons of Grand Canyon National Park… this trip has all you could ask for and more! 6 days full of hiking, exploring, and eating your way across these two states! Let’s go!
We visited in May of 2021… which is important to know. Spring and Fall are considered the “shoulder seasons” for these national parks. What does this mean? Basically, this is considered the BEST time to visit because daytime temperatures are lower, and crowds are generally thinner. This was pretty consistent with our visit! The temperature was perfect! Cool in the morning, warm in the afternoon, and cool in the evening. There were not nearly as many people at these parks as I was expecting to see! At times, on early morning hikes, we hardly saw any other hikers. We highly suggest visiting the parks during the Spring season which is March-May.
This blog will take you through everything we did on our trip! All of the stops from day 1 to the very last day. We will try to include some helpful tips and all the information you will need to have an awesome trip!
Getting There
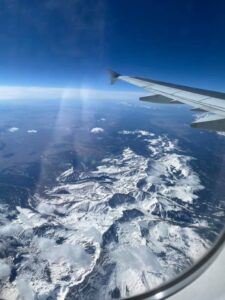
We are from Kentucky, so driving was not in the cards for us! We decided to fly into McCarran International Airport (LAS) in Las Vegas, Nevada. Following our trip, in December of 2021, McCarran International Airport has been renamed to Harry Reid International Airport. The flight itself was beautiful… keep an eye out the window for some amazing views of the rocky mountains!
Getting Around
We did a lot of driving on this trip! However, with it broken up over several days, it did not feel like nearly as much driving! This is where we plug our first budget travel tip!! ** TURO** Yes, Turo! We are so sad we did not know about Turo on this trip but are so glad we do now! On trips such as these, renting a car is a must… but it’s expensive right?! I always feel like I end up paying more than I anticipated and there are always so many added charges. Turo on the other hand is less expensive and less of a hassle! It’s literally the Airbnb of cars. You rent a car through the owner of the car, essentially. Sounds simple right? It’s because it is! You can get insurance on the website so you see exactly what you are paying for! You also can select where you want the car dropped off. Personally, we do our pick-ups and drop-offs at the airport we fly into. It can be different with each owner; however, we typically have instructions on where the car is dropped off, the keys are left inside, and we just start our trip. Dropping off the car is essentially the same as well. Always message the owner you rent through to get the exact details of course. We HIGHLY suggest checking out Turo! Note: This trip requires you to pick up and drop off at a different airport… so maybe save this tip for a different trip unless you can find an owner that allows you to pick-up and drop-off at separate locations.
Just a reminder as you embark on your trips to these beautiful national and state parks: be sure to practice ~Leave No Trace~! If you pack it in, be sure to pack it out!! If you can, always leave the place better than you found it.
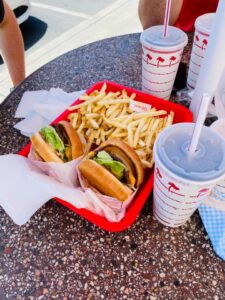
Day #1, Stop #1: In-N-Out Burger
Okay, maybe this is not really considered a stop by many but to us, it was! Those of us on the east coast don’t get the luxury of the famous In-N-Out burger. So a stop to us was a must! If you are like us and don’t live anywhere close to an In-N-Out… you’ve got to try it. We stopped here for lunch before beginning our next stop. Final opinions? The food was delicious. Justin says it’s not worth the hype but it’s for sure worth trying. I say it is worth the hype and wished we had an In-N-Out at home. If you have an opinion on In-N-Out… let us know! Is it worth the hype?
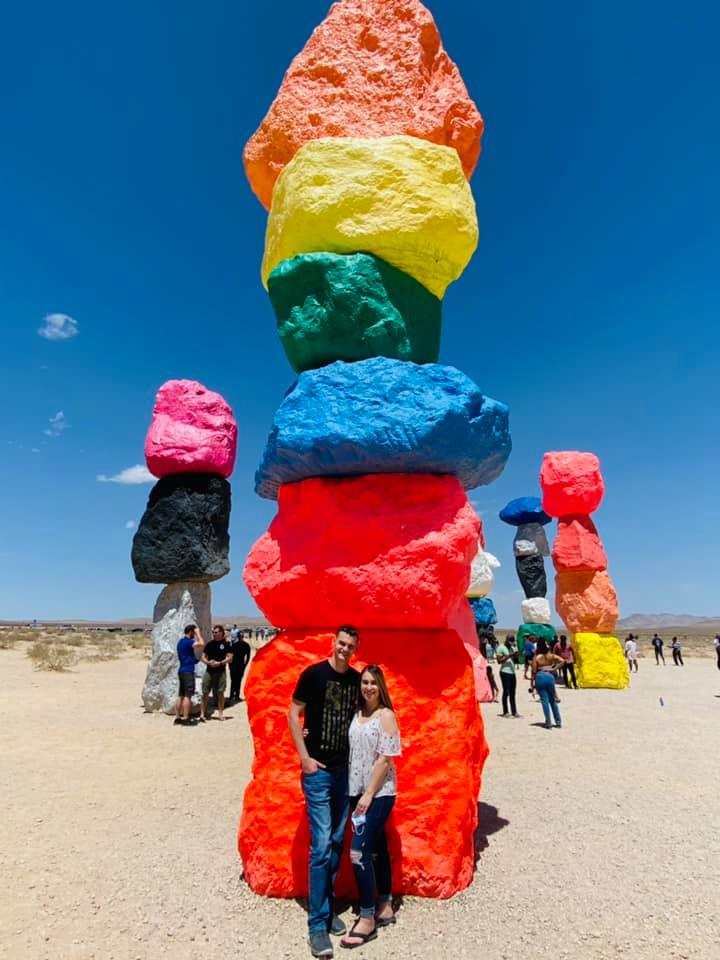
Day #1, Stop #2: Seven Magic Mountains
Our first stop was at Seven Magic Mountains which is only about a 25-minute drive from Las Vegas. The contrast of this art installation in the middle of the desert is intriguing and well worth the stop! These seven vibrant stacked boulder towers really stand out amongst the landscape of the desert. This art installation is pretty easy to find as you take Interstate-15 to Sloan Rd (exit 25). Once you turn left onto Las Vegas Boulevard you will travel about 7 miles before they appear right on your left!
Public access is free for everyone and there is an on-site parking lot. This installation is open daily from sunrise to sunset. It’s a short walk from the parking lot to the stacked boulder towers. Even in May, it was hot! Make sure you have access to sunscreen and water. It’s also important to note that there are not any facilities at Seven Magic Mountains, so make sure you account for that before you arrive. This place can be pretty crowded… perhaps visiting in the morning or later in the evening would decrease the chance of crowds. If you are following our itinerary closely, you’ll likely visit in the middle of the day as this is just one of the several stops you will be making!
Day #1, Stop #3: The Hoover Dam
Is this on anyone’s bucket list? Because it sure was on ours! The drive is under an hour… barely, but it is well worth the stop!
There is no entrance fee to the Hoover Dam. You can freely walk along the top of the dam and take in the sights of this massive dam and the Colorado River. The dam itself is surprisingly beautiful! One of the most interesting things is that the canyon is the state line for Nevada and Arizona… so you can literally stand in two time zones! When you cross over the dam, not only are you crossing into a different state but a different time zone!
Guided tours are offered at Hoover Dam which can take you into the dam and teach you more about its history. There is a cafe and a shop located at the dam which may be interesting to see. We didn’t elect to do any of these and after taking in the massive dam, we hopped back in our car to head to our last stop of the day! Our hotel!!
Day #1 Hotel Near Bryce Canyon National Park
We stayed at Best Western Plus Ruby’s Inn and we really enjoyed it! There are many good options but this one really fits all of our needs. Breakfast is included and it was one of the best breakfasts we ever have enjoyed at a hotel. We knew we wanted a full stomach to begin our time at Bryce Canyon National Park. The breakfast was a huge buffet with several different options, and all of it was delicious! The hotel is close to the park and the price was great. We highly recommend staying here during your visit to Bryce Canyon National Park.
The drive from the Hoover Dam to the hotel comes in at the longest of the trip at a little over 4 hours. You will be tired when you arrive at the hotel! It was nice to have so many conveniences such as a shop that included not only souvenirs but grocery items too.
Our second and third travel tips: 1) Book a hotel with breakfast included and 2) bring your lunch into the park. Sounds too simple right? But this will save you so much money. We typically buy sandwich meat, bread, and snacks that we can take with us to the parks or keep in our hotel for the next day. To us, a huge part of traveling is eating the food at that destination. It helps you to truly experience the culture. Eating a simple lunch but trying different food out for dinner allows us to save so much money versus eating out three times. I think this really distinguishes between “travel” and “vacation”. We elect to ~travel~ so we can see more places… sometimes that means a bit of a budget.
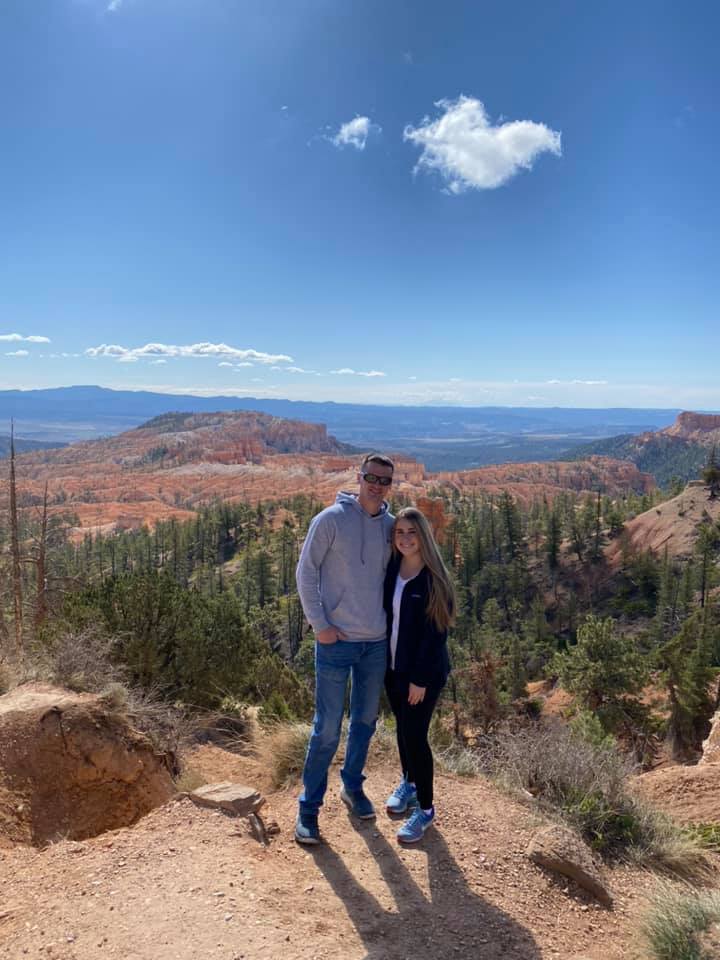
Day #2: Bryce Canyon National Park
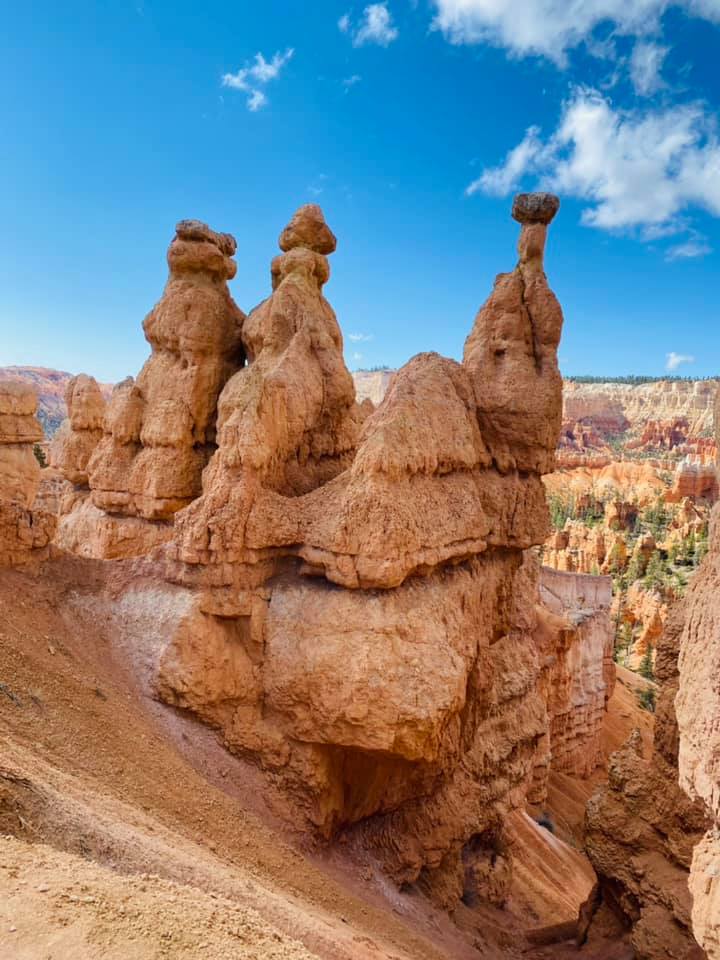
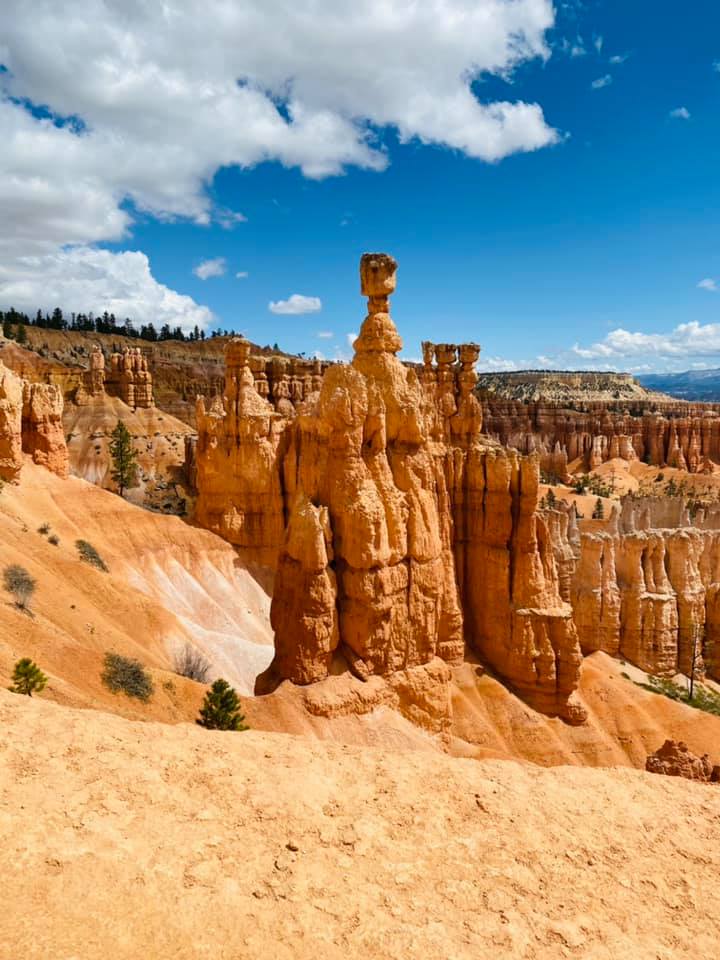
When I say that Bryce Canyon National Park is our all-time favorite national park… I’m not lying. It is gorgeous here! The craziest part? These pictures simply do not do the park justice! Our expectations for Bryce Canyon National Park were lower. I think we were both waiting for Grand Canyon National Park because it was always the park that was so hyped up! Bryce Canyon, in our opinion, tops the Grand Canyon and should be at the top of everyone’s national park bucket list. The entrance fee to the park is $35.00 which gives you access for seven days. TIP: If you plan to go to more than 3 national parks in a year, you can save money by buying the America the Beautiful Pass which allows you to access all National Parks with that pass. The pass itself is $80.00 but with each National Park costing around $35.00… you’ll save money in the end. Note: There are 16 national parks that do not require an entrance fee; however, all national parks on this itinerary do require an entrance fee.
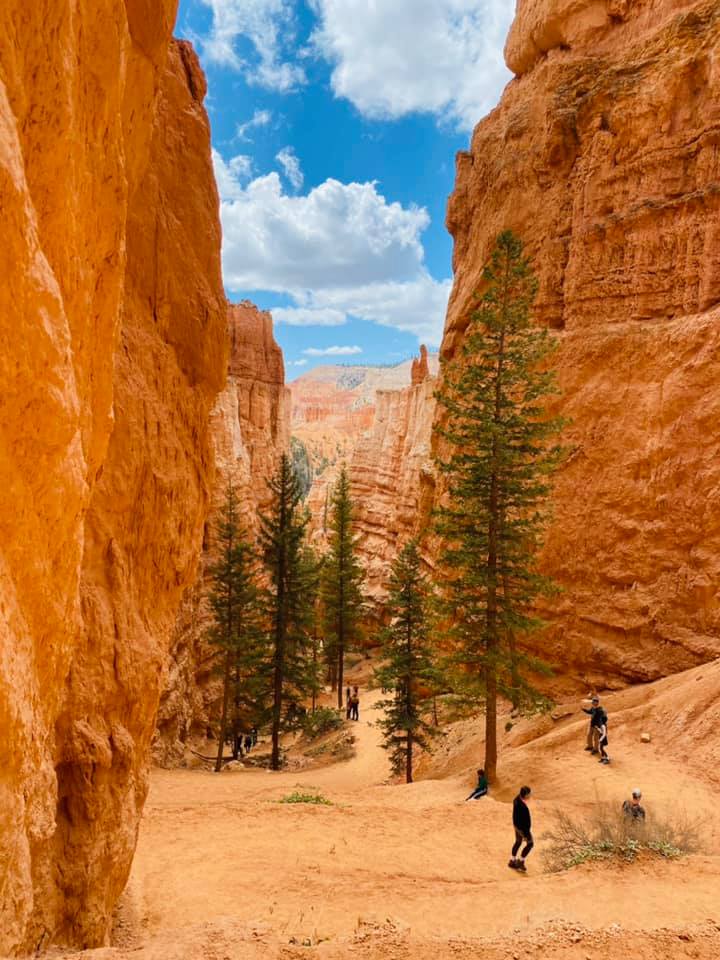
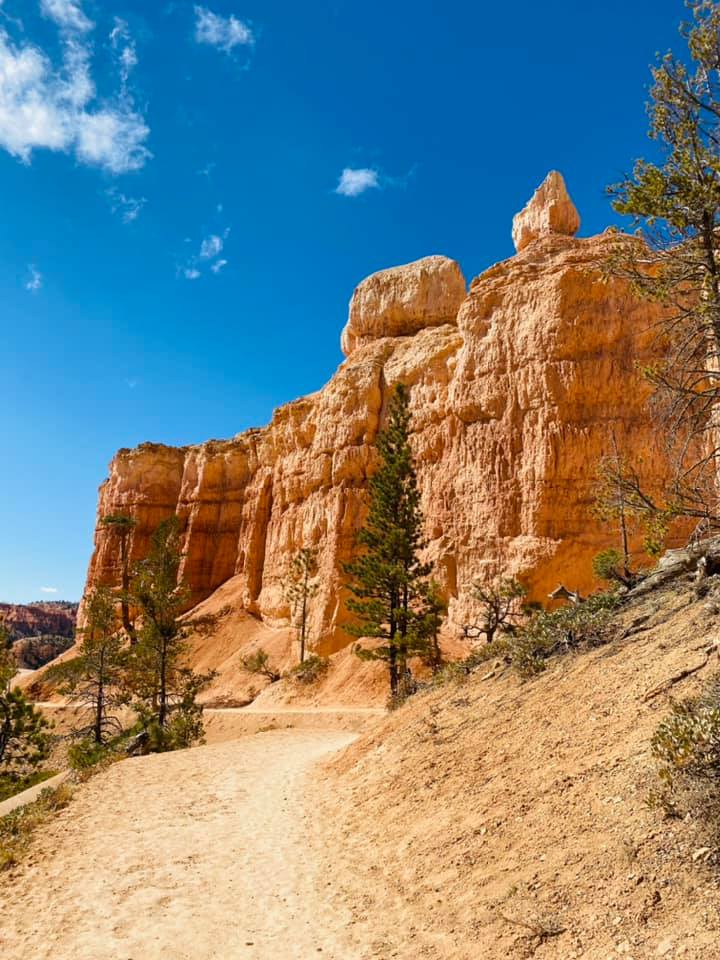
We had one day at the park and if I could have done the trip over, I would have booked us out for two days here! Alas, with one day here, there are two trails you for sure need to hike and those are the Queens Garden Trail and Navajo Loop Trail. While they are two different trails, they connect to one another if you follow the correct signs (which is super easy and well-marked). You can start at Sunrise Point and hike to Sunset Point. This will cover so much natural beauty. Be sure to keep an eye out for Thor’s hammer which is closer to Sunset Point and not to be missed.
The Navajo Loop Trail and Queen’s Garden Trail are a 3.1-mile loop trail. Generally, this loop is considered a moderately challenging route. It takes about an average of an hour and a half… but account for at least 2-3 hours for stopping to take in all those gorgeous views! Remember you are stopping at Sunrise and Sunset Point too because those views are just as amazing. We will say that the hike can be very challenging at some points as there is a lot of uphill trekking.
Where to park? I feel like I spend a huge amount of time trying to find out where to park to hike these awesome trails. Search no more! The best plan is to park at Sunset Point, walk over to Sunrise Point, and begin Queen’s Garden Trail. Don’t ya worry about not starting at Sunset Point because you’ll catch that on your way back out and you’ll already be at your car. It worked out great for us.
Next, we drove roughly 2 hours and 30 minutes to our hotel that night to tackle Zion National Park the next day.
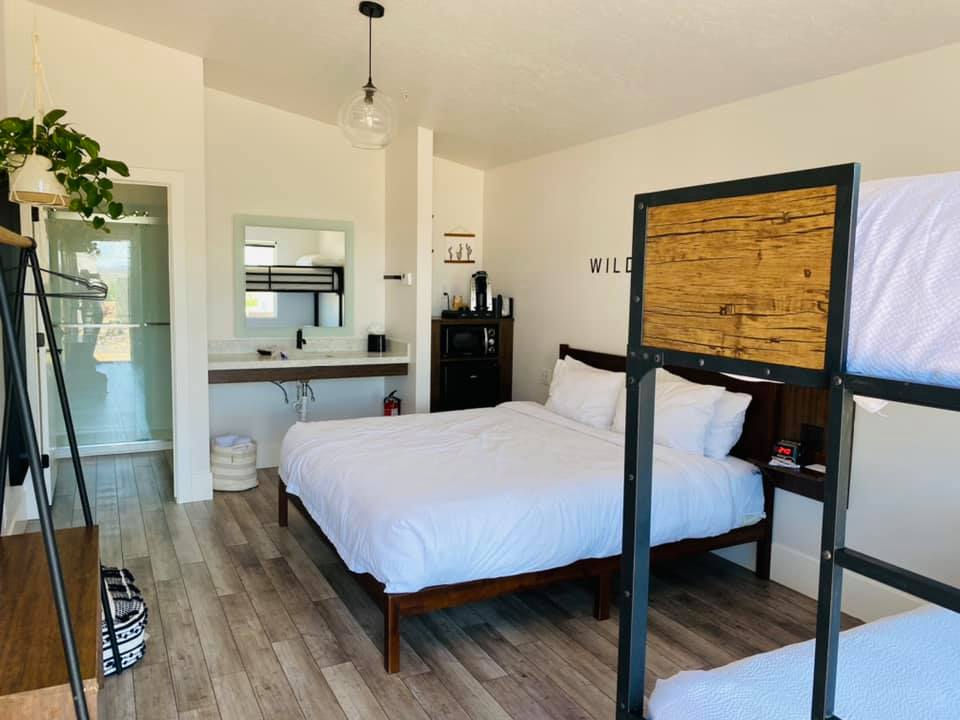
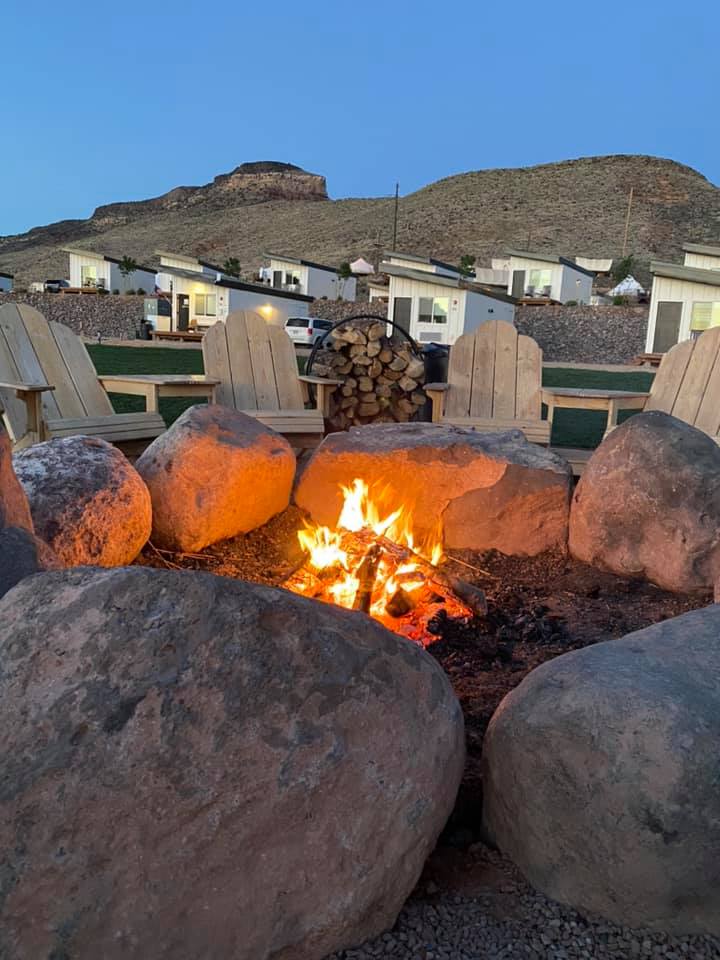
Day #2 Hotel-Zion Wildflower
Zion Wildflower remains one of our favorite places we have stayed at to this day! We recommend it so highly. It is absolutely stunning and the staff is amazing. Stay tuned because Zion Wildflower is getting its own blog when we talk about our favorite places to stay. It was seriously that incredible.
You get to choose your glamping experience in the middle of the Utah desert. Choices include canvas-covered wagons, single-pole canvas tents, or private bungalows. We originally chose the single-pole canvas tent; however, when we arrived it was so windy! The staff allowed us to upgrade to a bungalow… free of charge!
Check out some more pics below because honestly, I was in LOVE.
Day #2, Stop #2-Zion Pizza and Noodle Company
We decided to eat dinner after we arrived at our hotel. Justin was feeling pizza… and who can turn down pizza? I’m so glad we didn’t because this pizza was amazing! And the price? Fantastic. We got two pizzas to share and had some left over. We highly recommend stopping here during your visit to Zion National Park.
It can get pretty busy! It’s a popular place. There is parking on site and we snagged one of the last few spots. There were still quite a bit of people there between lunch and dinner time. The crowds had grew immensely by the time we left. Be prepared to wait if you arrive during a popular time.
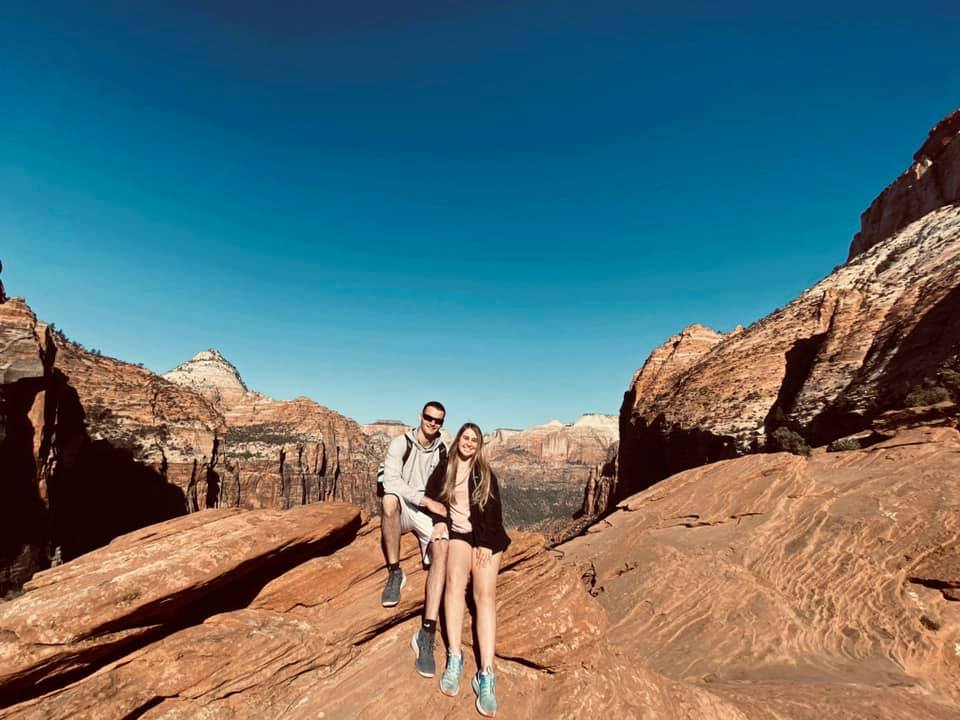
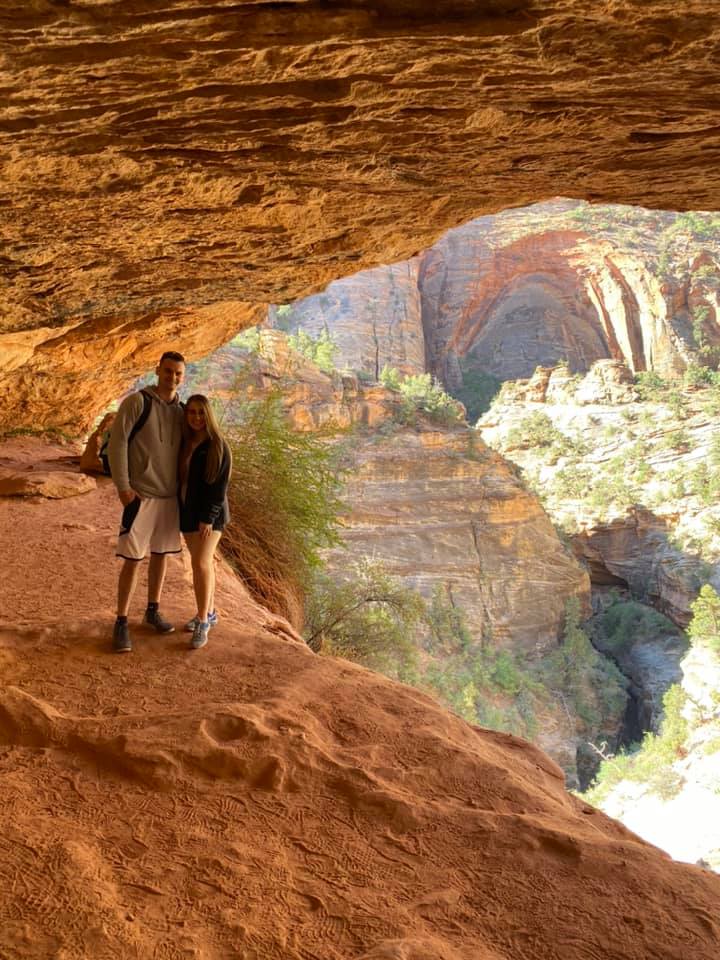
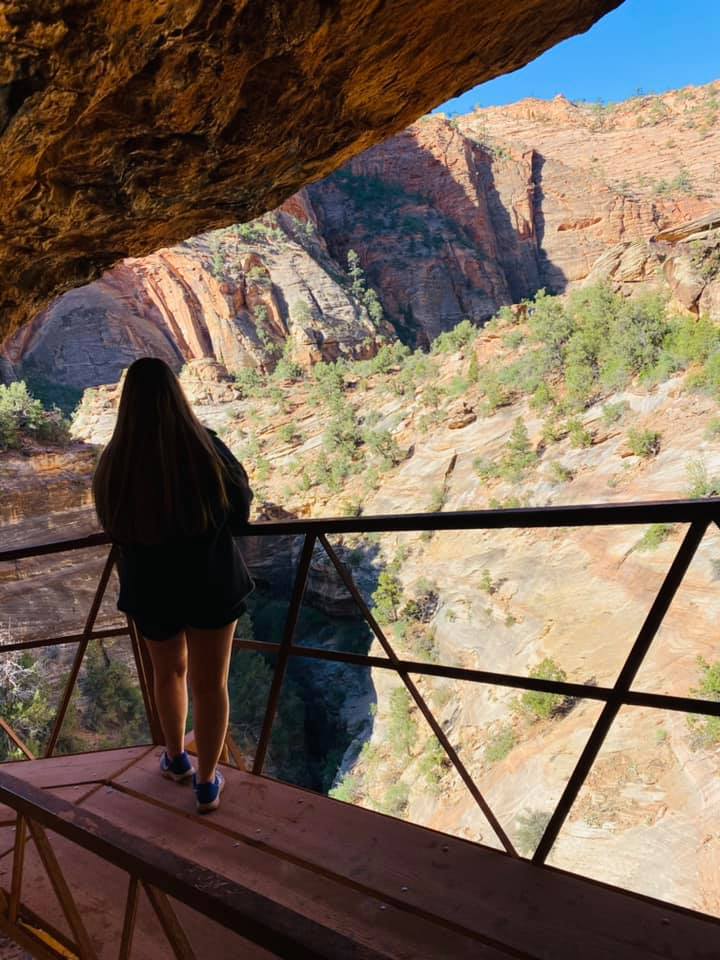
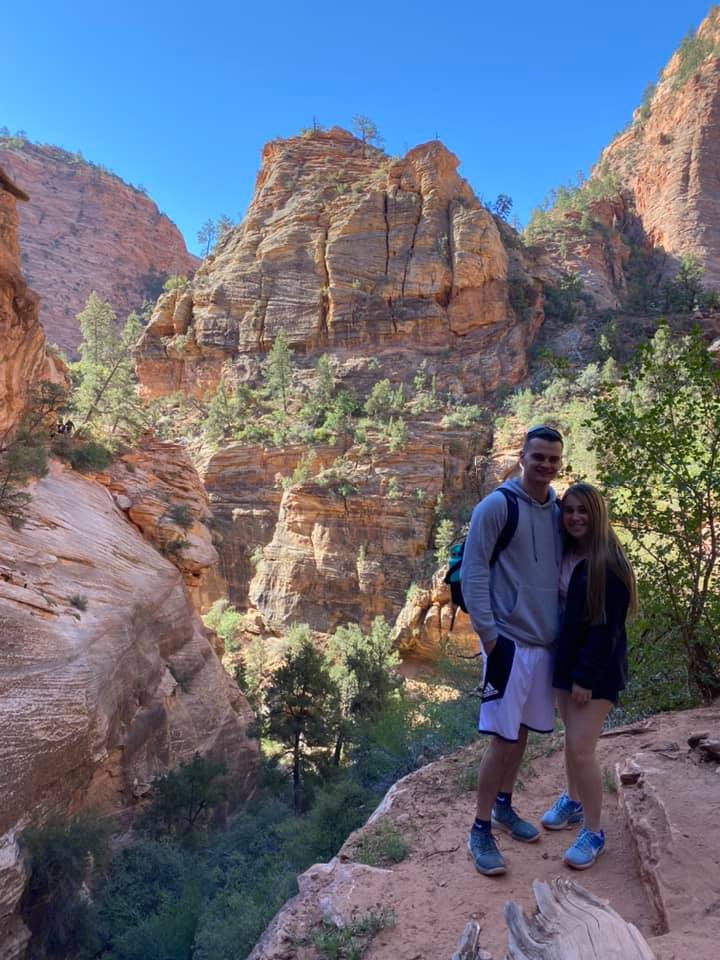
Day #3: Zion National Park
We didn’t get as much time in Zion National Park as we had hoped. In a perfect world, I would have loved to spend a month on this trip but alas, in graduate school one’s break only lasts so long.
It was too cold for the narrows and we were fairly new to the national park world… meaning we were not prepared! That would be an amazing hike; unfortunately, it won’t be covered here as we didn’t experience it. We do cover two amazing hikes that provide breathtaking views of Zion National Park. Honestly, everywhere we looked in Zion, our jaws were hanging. You won’t be disappointed, no matter what you decide to do.
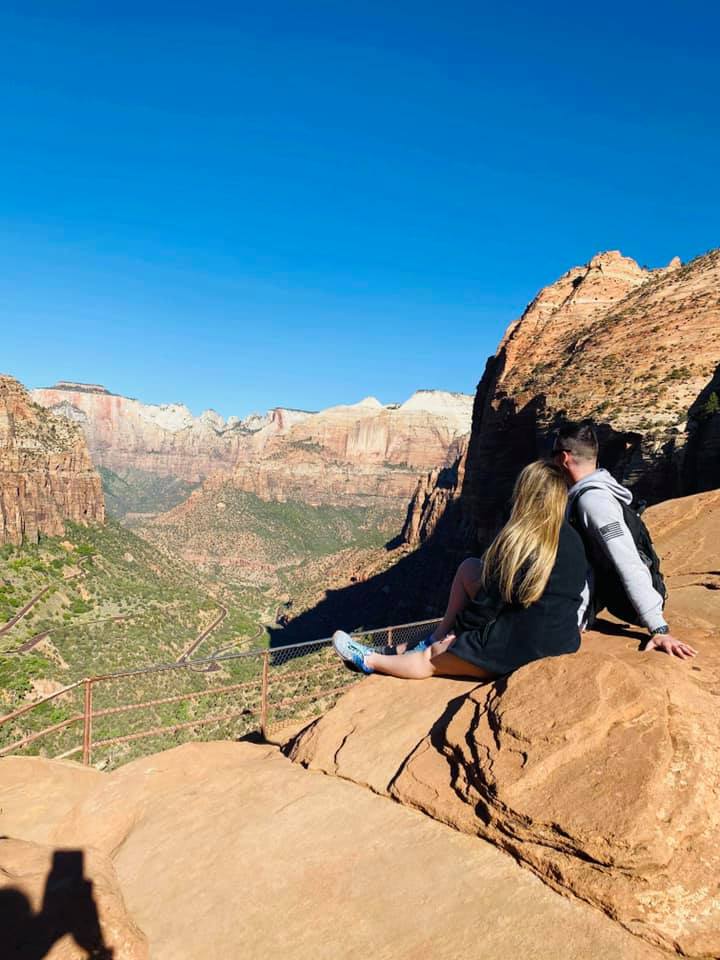
Here is what we recommend if you have one day at Zion National Park: Zion Canyon Overlook Trail and Emerald Pools Trail. Canyon Overlook Trail is only a half-mile long but it is going to give you some of the best and most spectacular views of the park! Once you are inside the park, you’ll drive on SR-9 for about 6 miles before entering the famous Zion Mt. Carmel Tunnel. Right after exiting the tunnel, there is a small parking lot on your right-hand side. If that parking lot is full, drive down a distance further and there will be another parking lot to your left. Parking is easy to find at the base of the trailhead but it is a popular spot for many hikers. We suggest arriving early. Simply driving to the places you will hike in Zion National Park is part of the experience as it is absolutely beautiful. Middle Emerald Pools is 1.7 miles roundtrip but can be combined with other Emerald Pools trails for a longer hike. The trailhead can be found close to shuttle stop #5. These two hikes are relatively short and easy to see some of the best views of Zion!
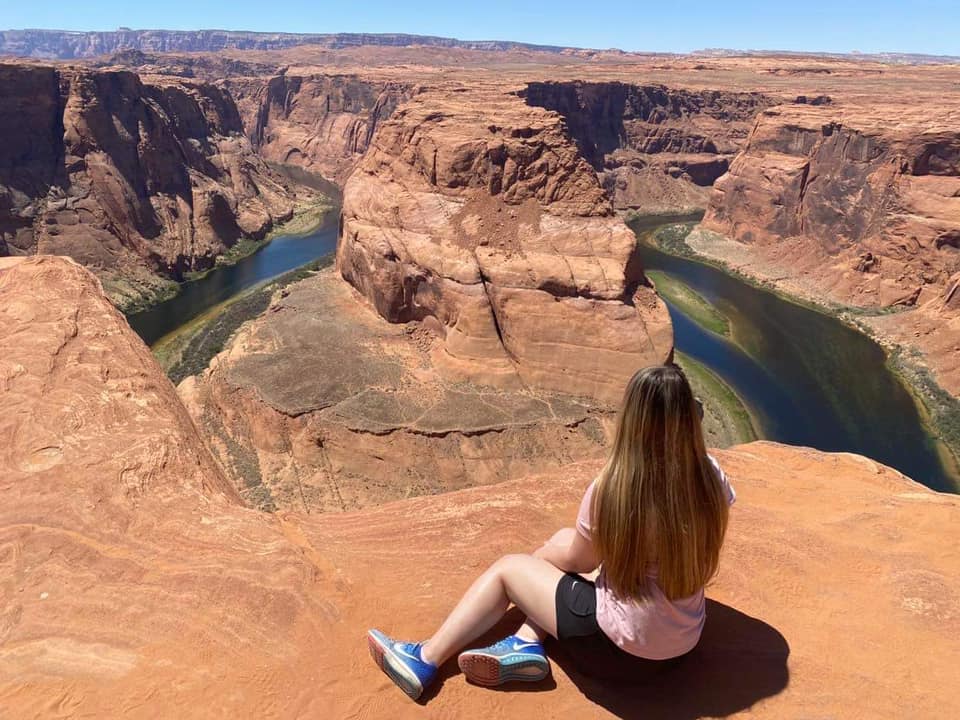
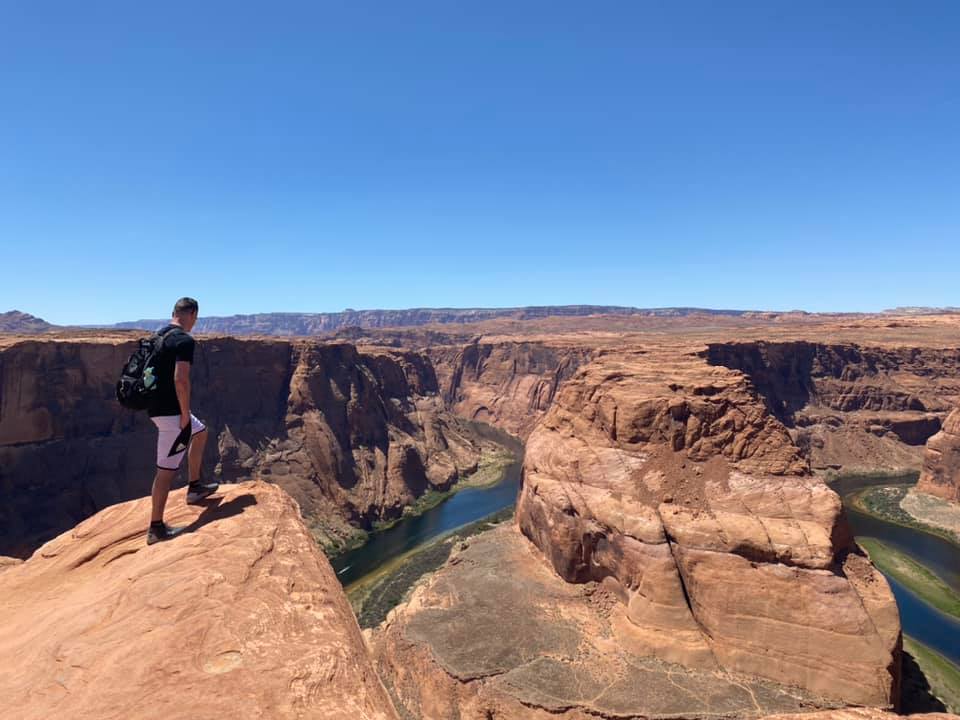
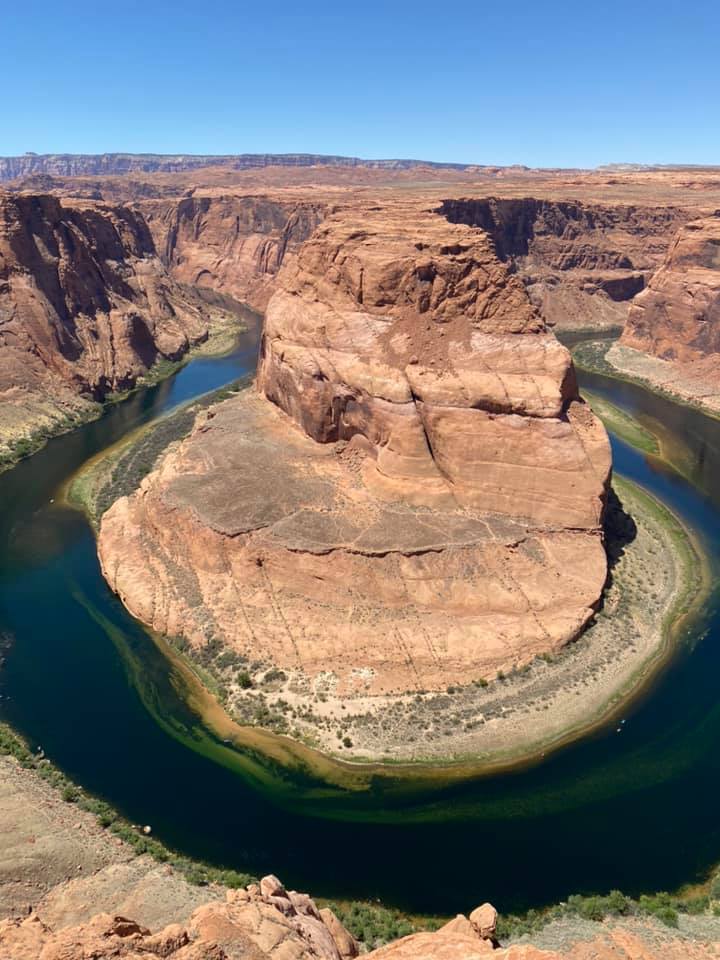
Day #3, Stop #2: Horseshoe Bend, Page AZ
After we finished our hikes in Zion National Park, we drove around 2 hours and 30 more minutes to Page Arizona where we saw the famous Horseshoe Bend. There is plenty of parking and the walk from the parking lot is 1.3 miles roundtrip and is mainly flat. The sun is hot, so make sure you have sunscreen! Horseshoe Bend was beyond beautiful and honestly did not even look real! It’s a must do. Entrance fee is only $10 per vehicle.
Day #3 Hotel and Dinner
After splurging in Zion National Park on our accommodation, as the travel budgeters we are, we decided to budget for our next stay. We stayed in Days Inn & Suites by Wyndham near Lake Powell. Was it breathtaking, fun, and exciting? No… did it do what it was supposed to do? YES. It was nice and clean…and the staff upgraded us to a balcony!
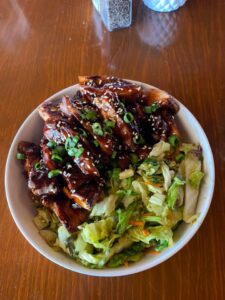
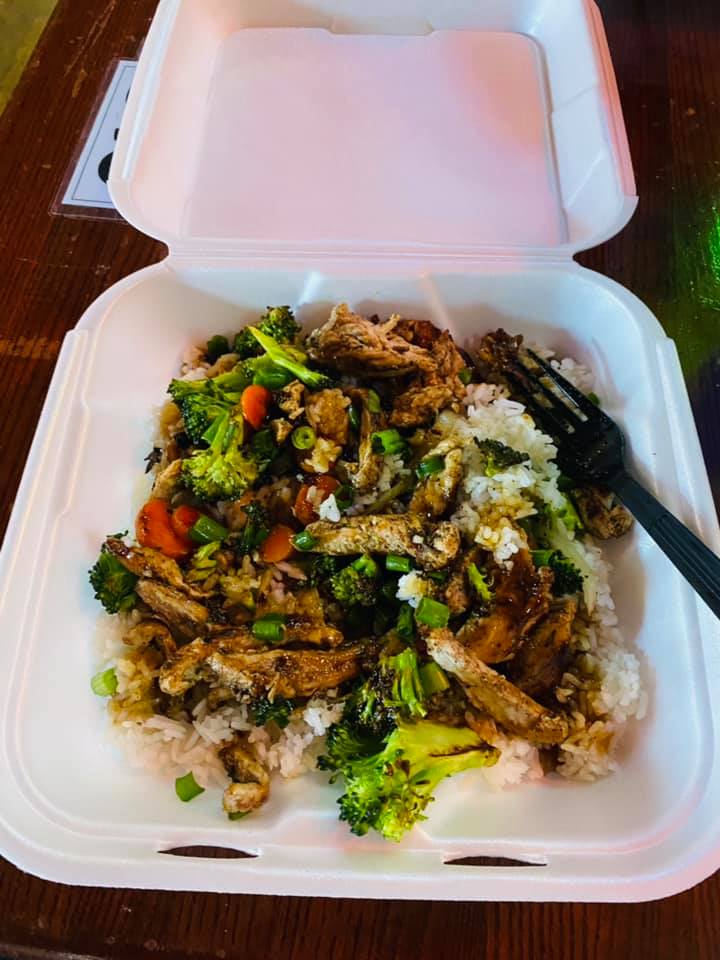
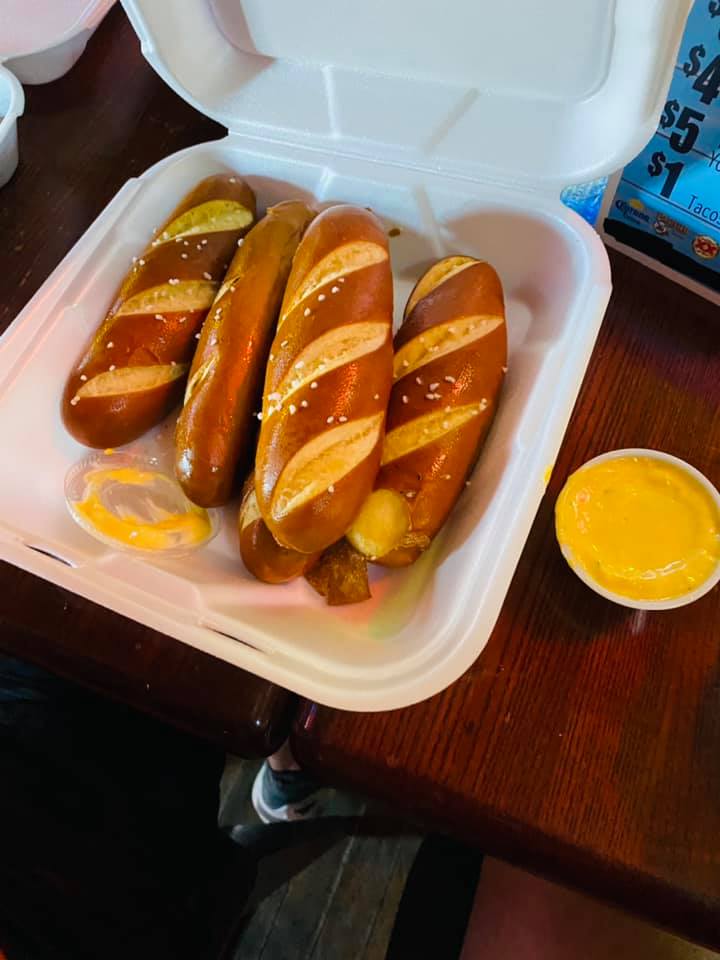
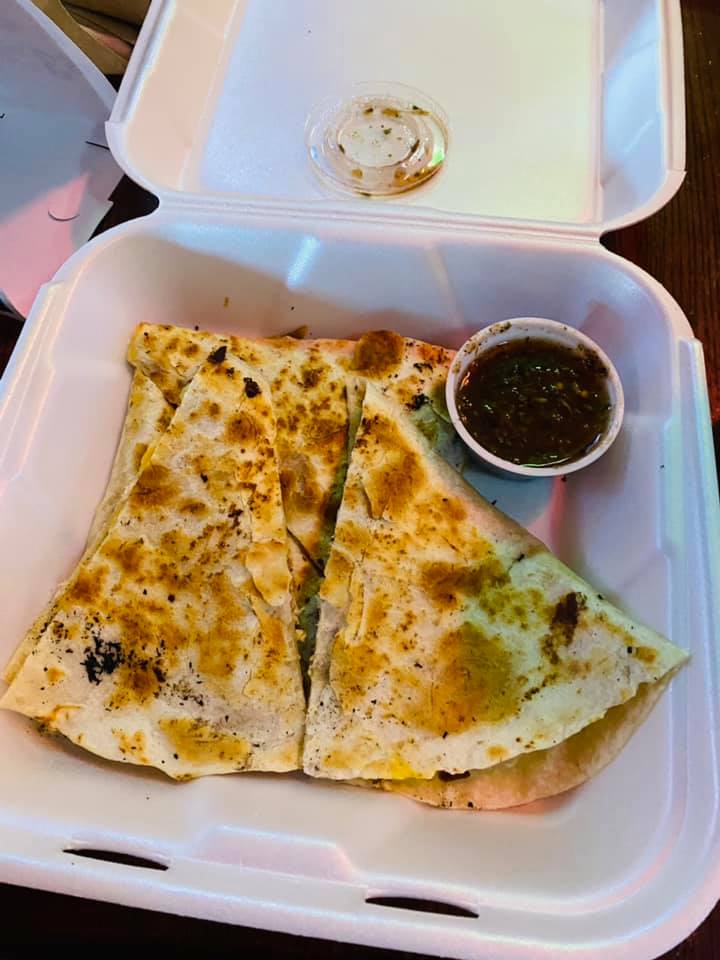
For dinner, we ate at Sunset 89. This is a must-try when you are in Page, Arizona! The cuisine is Island Pacific Rim and it is delicious. We ate every single bite. It was only a few miles from our hotel.
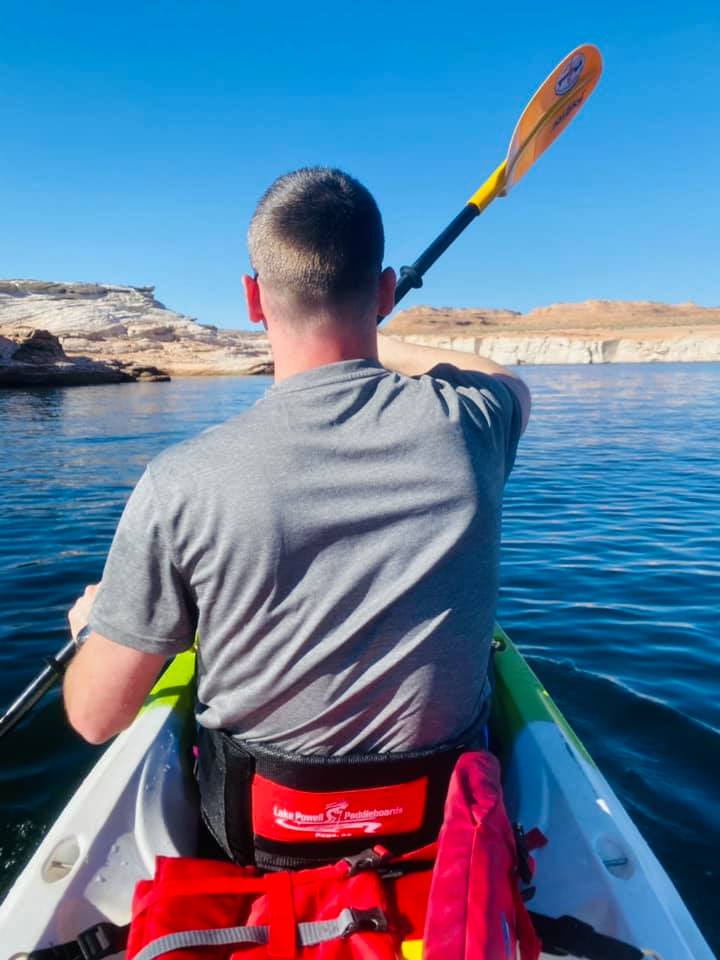
Day #4: Lake Powell and Antelope Canyon
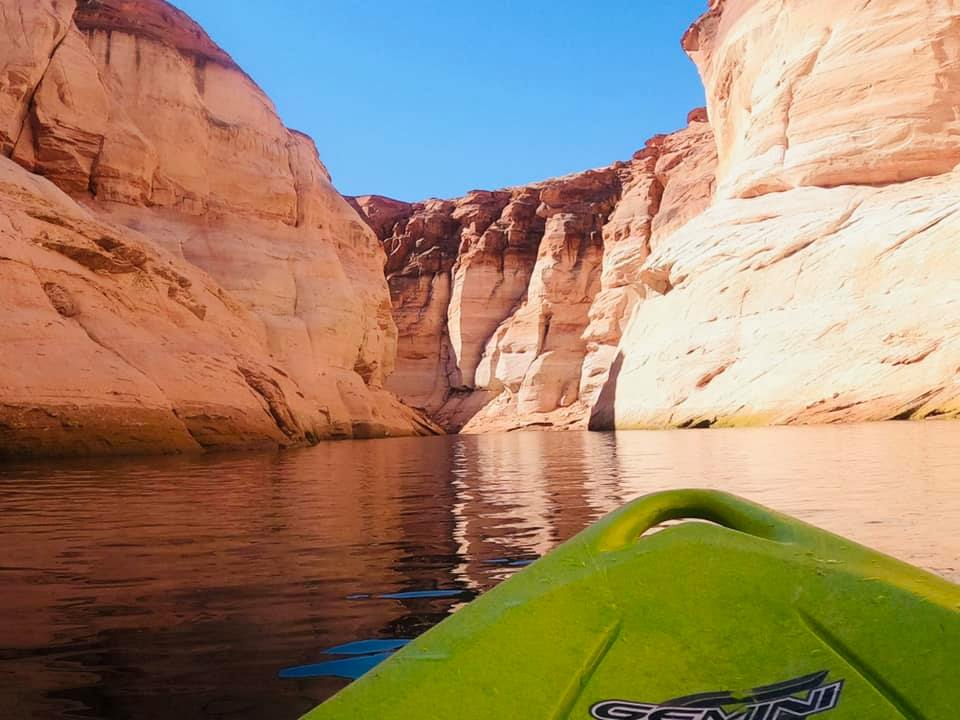
On day 4, we had an exciting excursion planned. We booked kayak rentals through Lake Powell Paddleboards and Kayaks. This ended up being one of our favorite parts of the trip! We simply went to their office, signed some forms, and were given directions to meet the company at a loading dock to get our kayaks. It was easy to find and there was plenty of parking. Warning! There was a steep walk down to the loading dock. Going back up after kayaking was brutal.
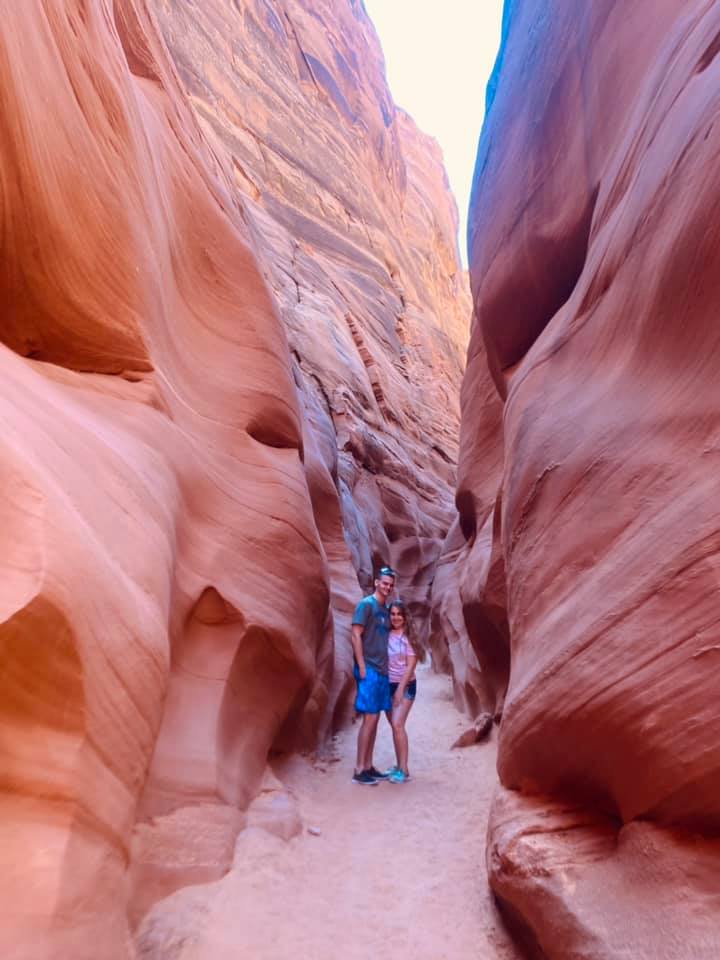
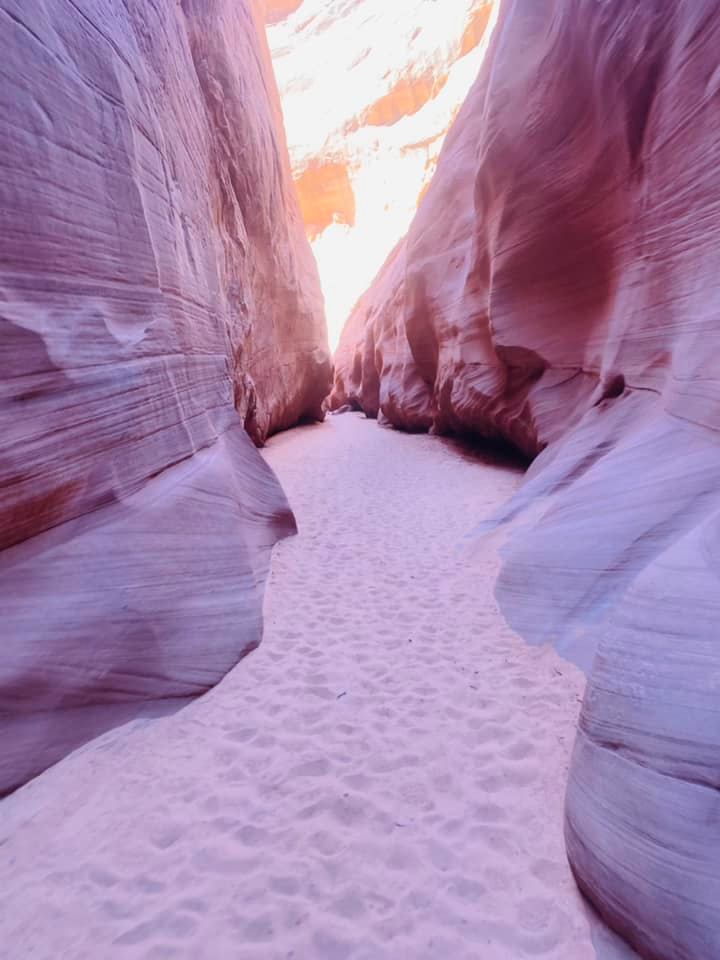
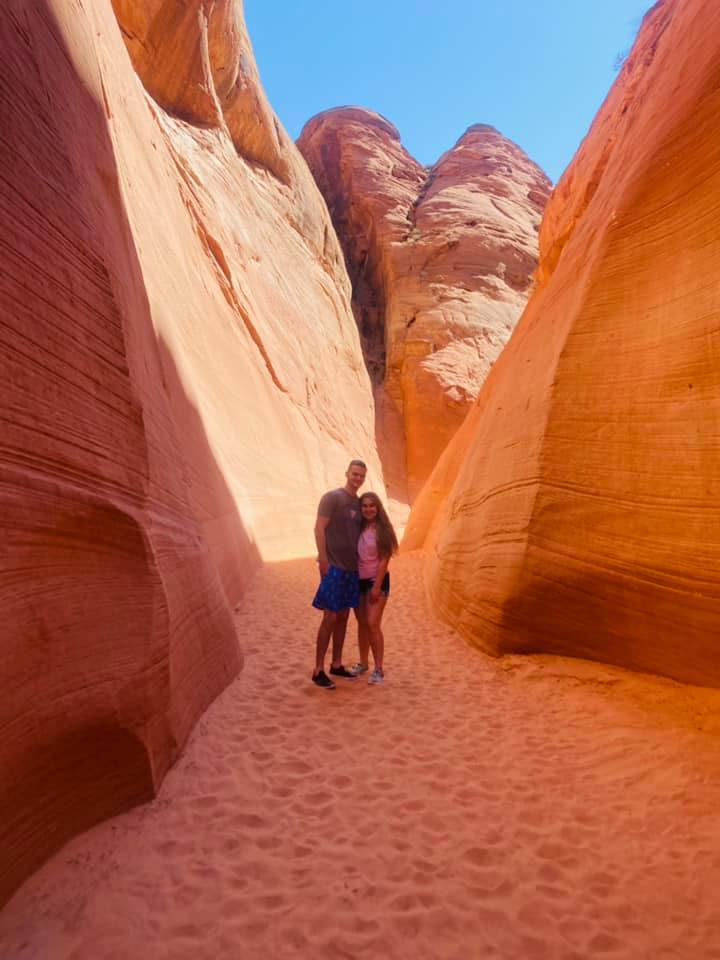
Rentals can include solo trips or trips with a guide. We opted for solo and thus we were provided a map and guidance on where to access Antelope Canyon once we started paddling on Lake Powell. Lake Powell is huge, but it was easy to find Antelope Canyon. The hike into Antelope Canyon can be as long or as short as you desire as there is no end for miles. We hiked around 2 miles roundtrip and saw beautiful rock formations in this slot canyon.
Day #4 Hotel and Dinner
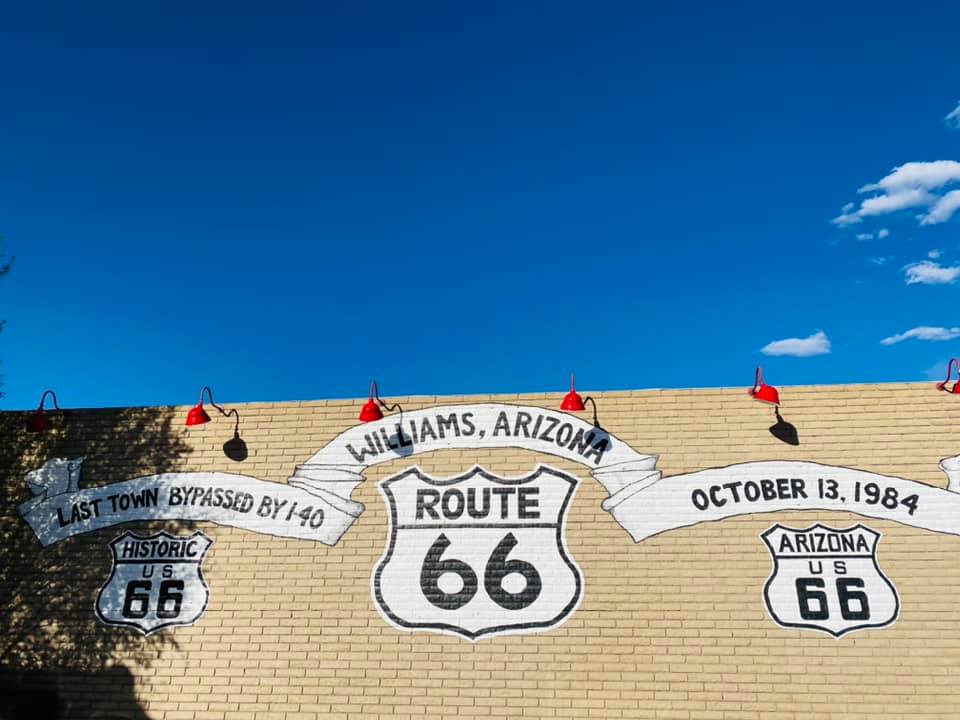
Following our excursion kayaking, we hit the road again for another 2 hours and 30 minutes to Williams Arizona, which is on the famous Route 66. We completed one of our bucket-list items!
Again, we elected to budget and stayed in La Quinta Inn & Suites by Wyndham near the Grand Canyon. This hotel was nice, clean, and provided breakfast.
Our favorite thing about this stay was a restaurant called The Little Chicken Place… which is a hole in the wall. It was some of the best food we had on the entire trip! It’s also located downtown where there is tons of shopping and where you can snag a nice souvenir of your time on Route 66!
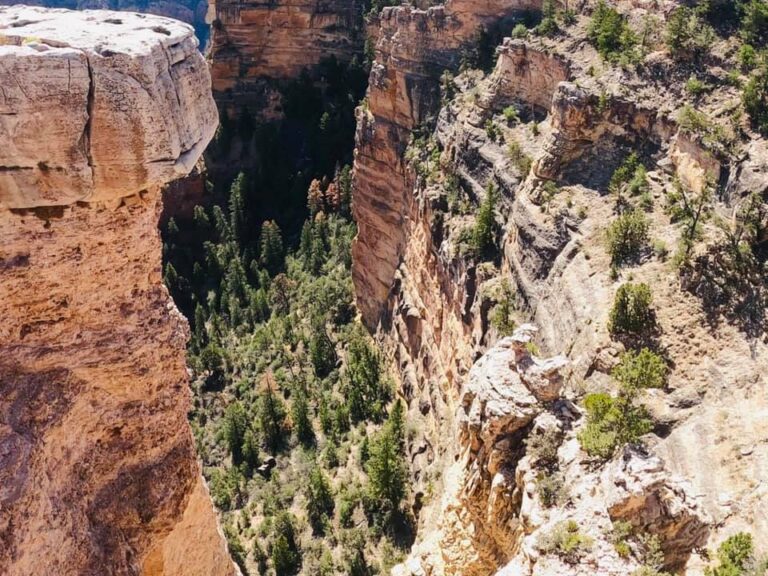
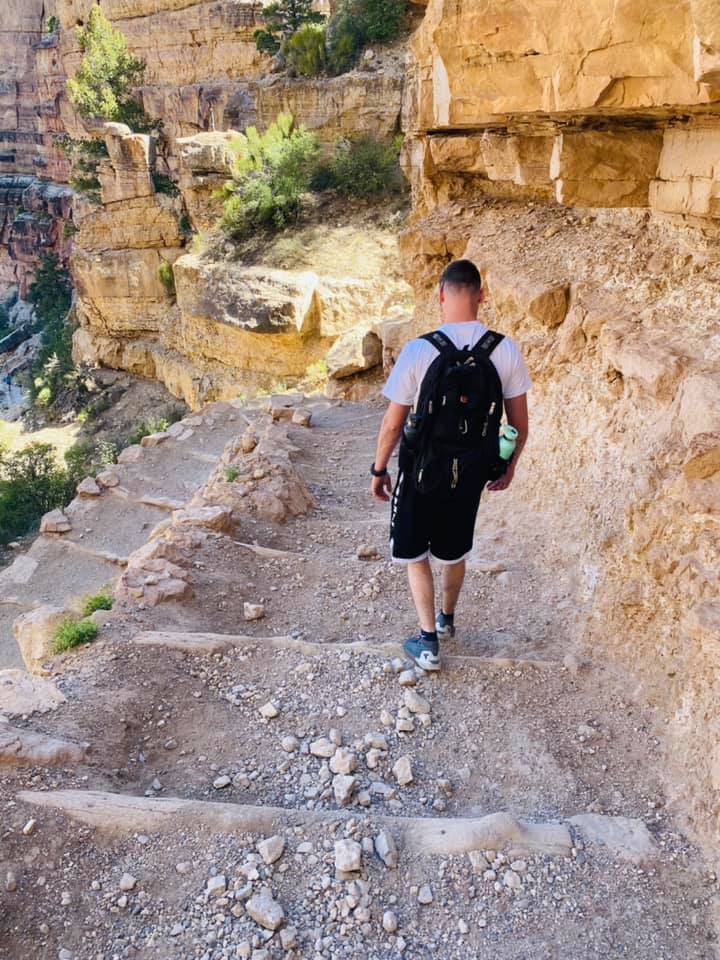
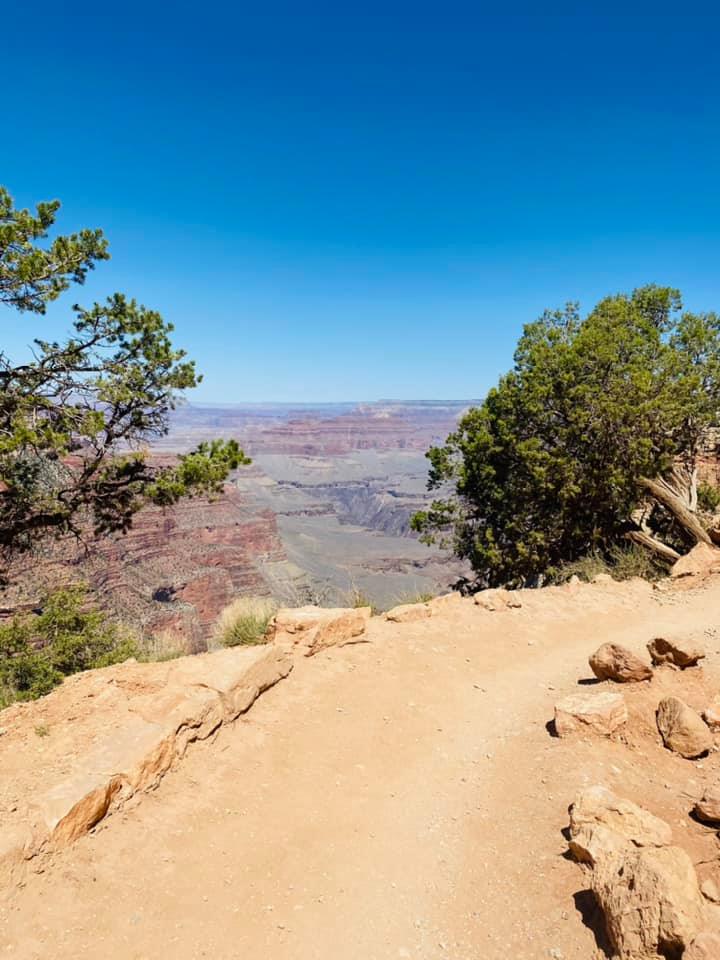
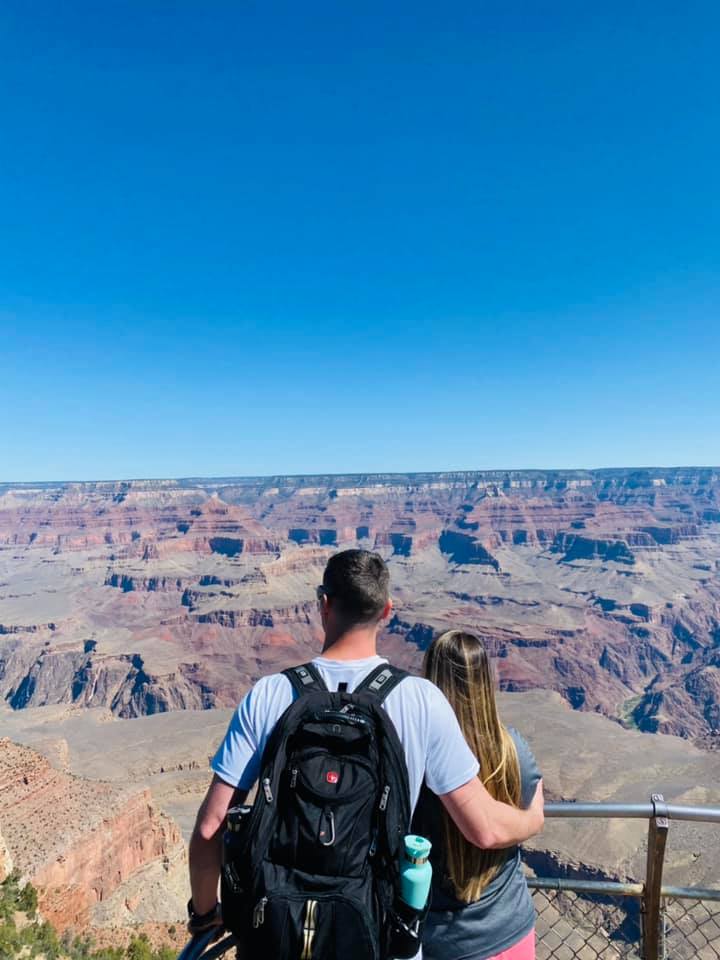
Day #5: The Grand Canyon
Once again, I wish we had more time in the Grand Canyon. With one day to spare, this is what we did! When we arrived, we walked out to Mather Point which was absolutely breathtaking. This is a must as it provides some great views of the Grand Canyon. Justin and I have spoken in length about how these canyons went as far as the eye could see.
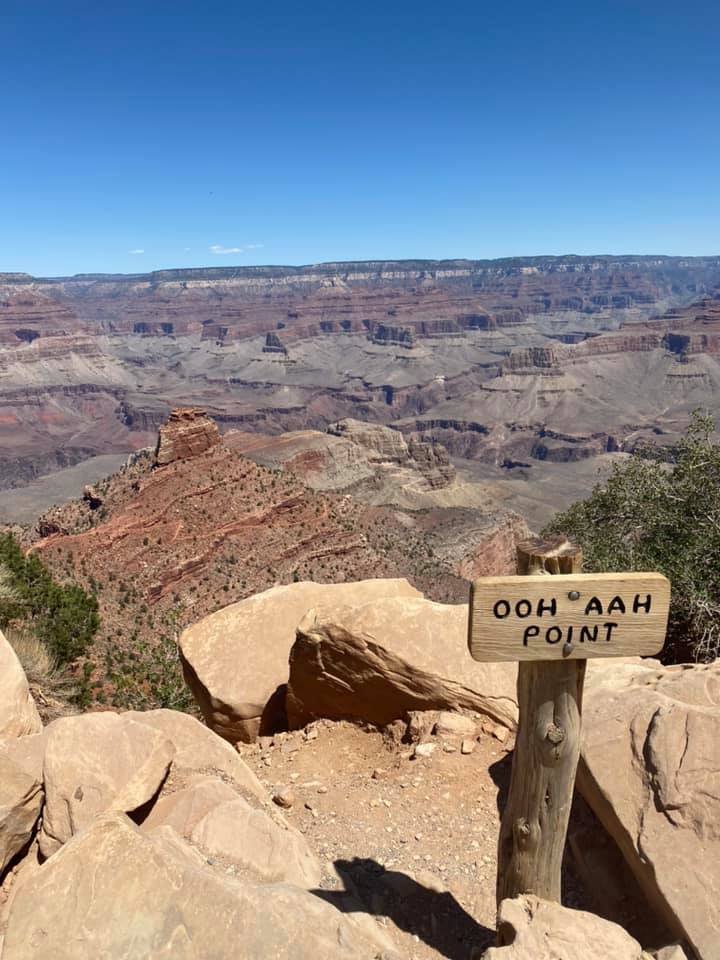
Next, we utilized the bus shuttle to get us on the South Kaibab Trail which we hiked to the Ooh Aah Point, a 1.8-mile round trip. You can hike it even further to Skeleton Point which is 5.8 miles round trip. It is important to note that this trail is challenging! You spend the majority of the trip going downhill just to pay for that coming back uphill. You also get hit with some pretty intense switchbacks.
There are so many more trails that the Grand Canyon has to offer but if you have one day, these trails are the best way to see what the Grand Canyon has to offer.
Day #5 and #6 Hotel and Dinner
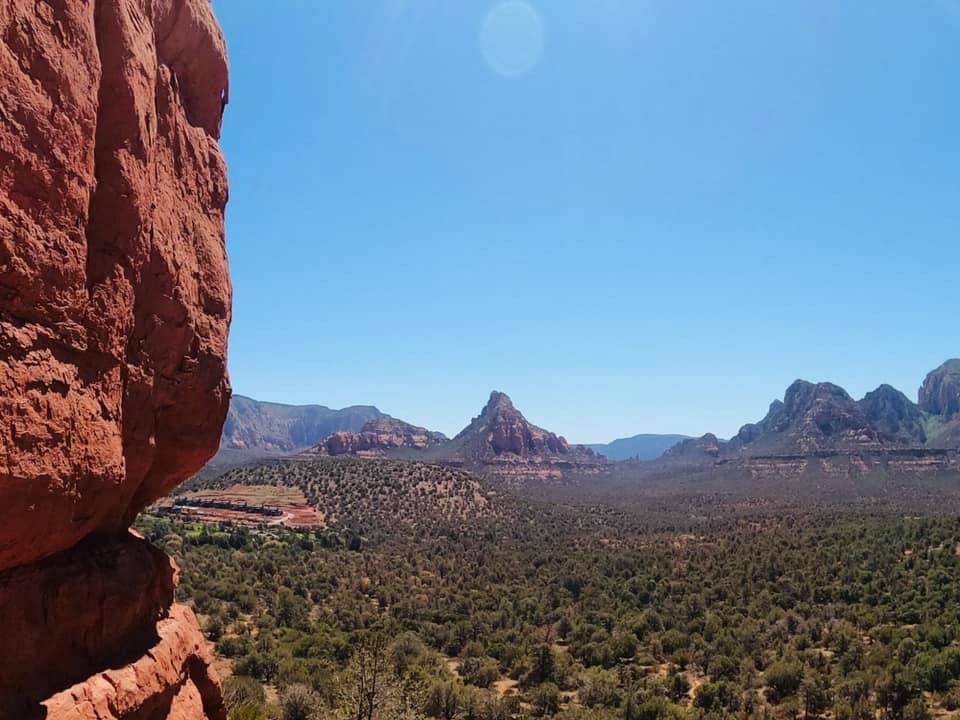
We traveled another 2 hours and 30 minutes to Sedona, Arizona which is a gorgeous town. We stayed in Sky Ranch Lodge and were super glad we did. Here, we got another private bungalow and the grounds were gorgeous. There was even a wedding taking place the same day we were staying there. We took full liberties with the pool and hot tub on site. Not far from the room, there is a wonderful spot to watch the sunset!
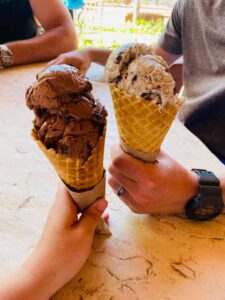
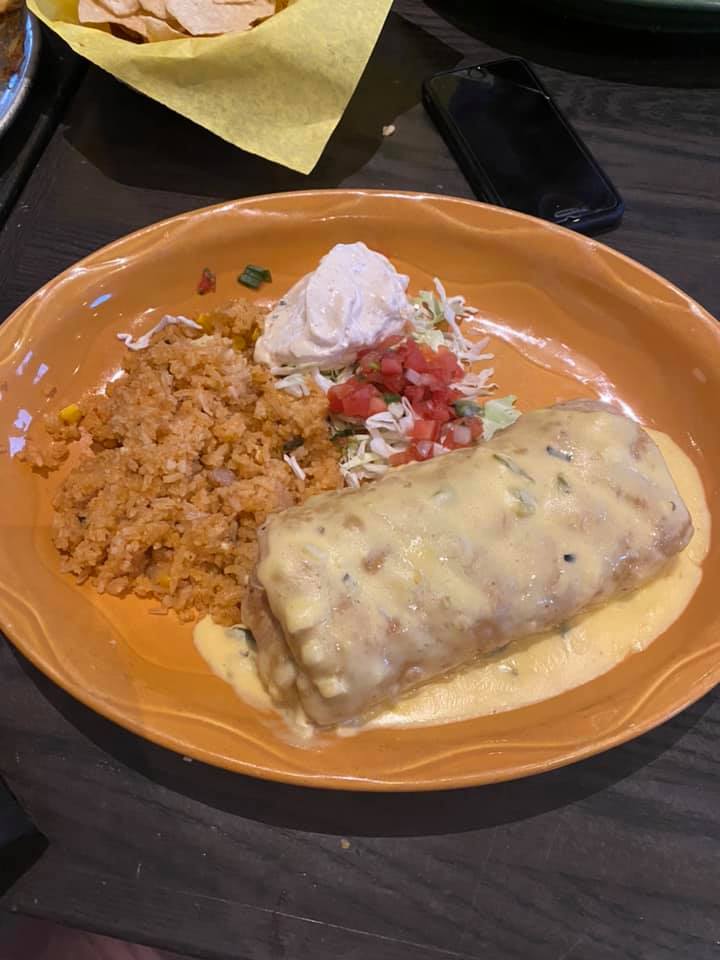
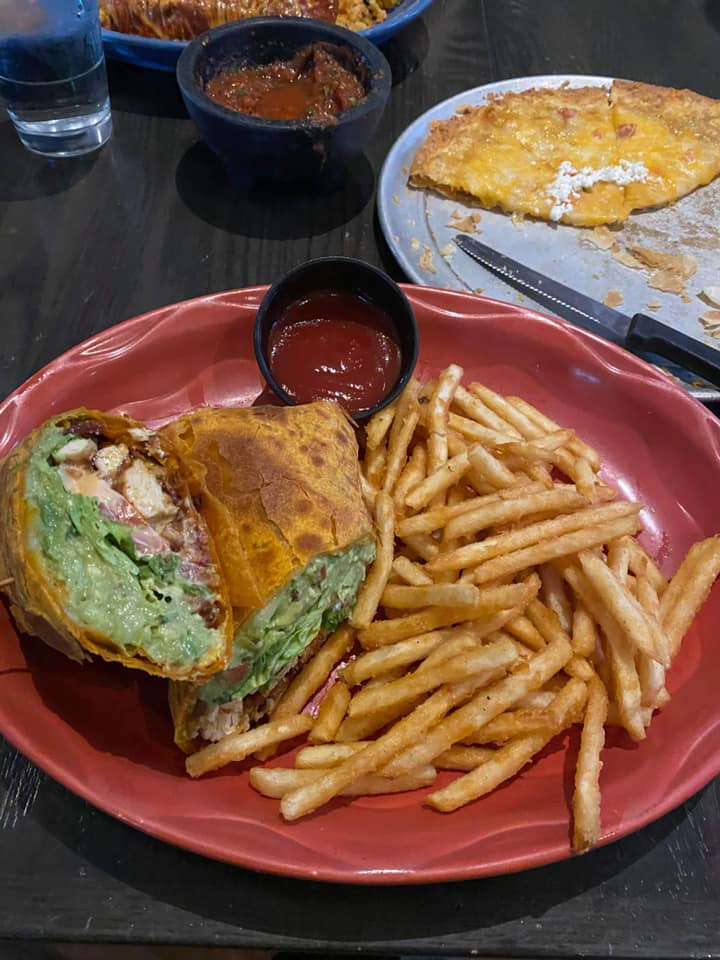
We had dinner at Javelina Cantina, ice cream at Canyon Breeze, and dinner our last night at Canyon Breeze. There was great shopping around Canyon Breeze as well!
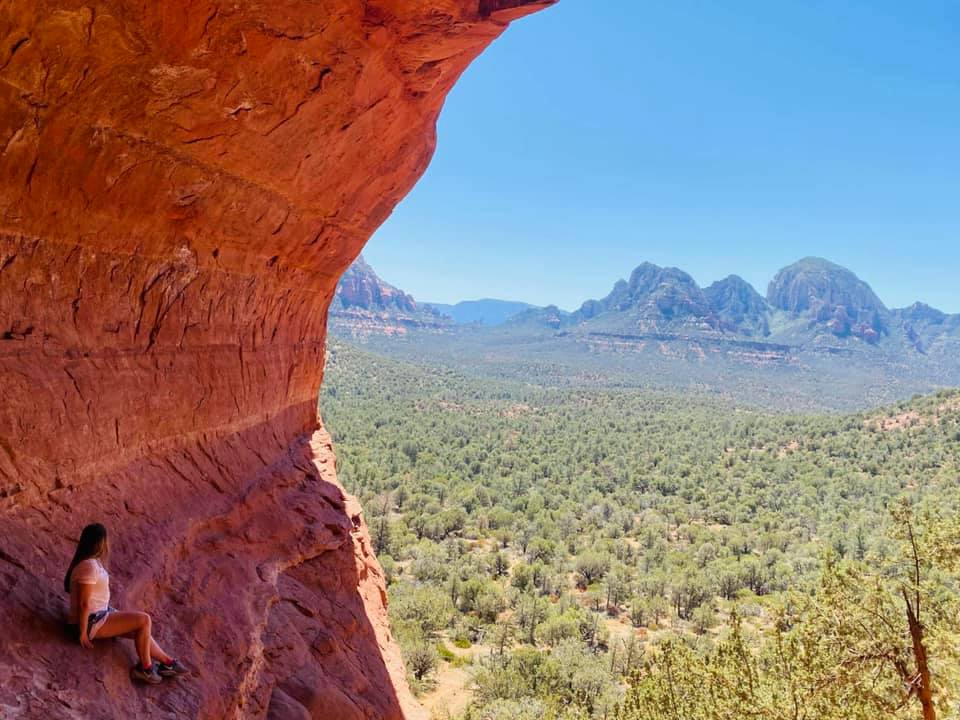
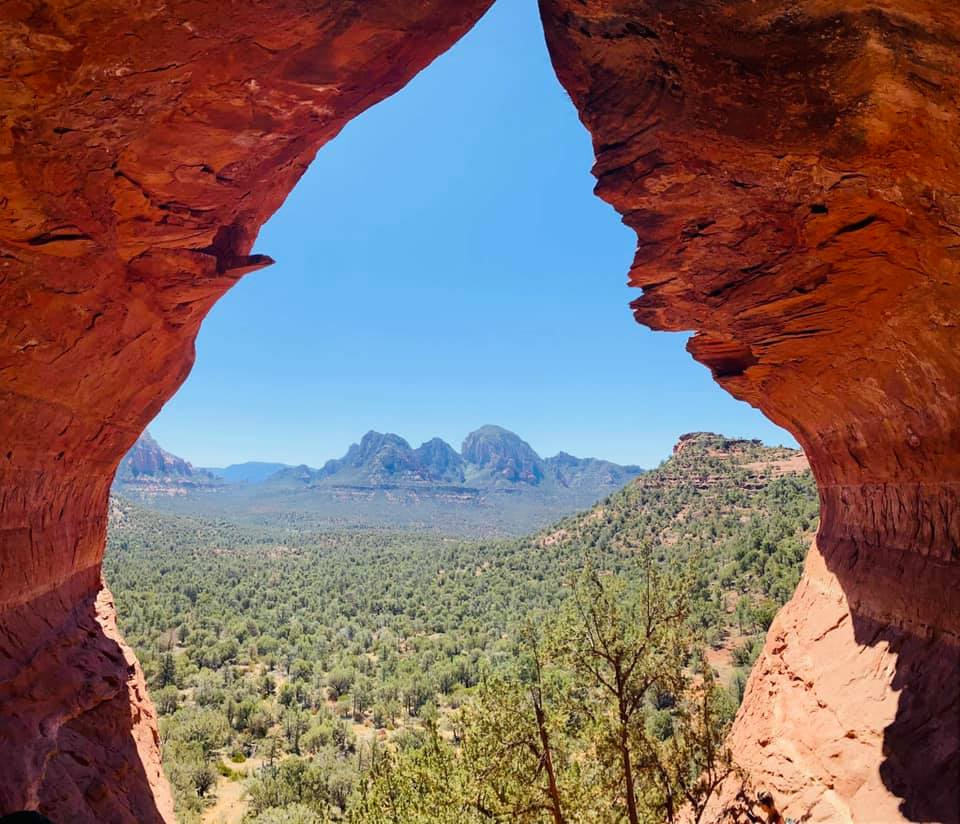
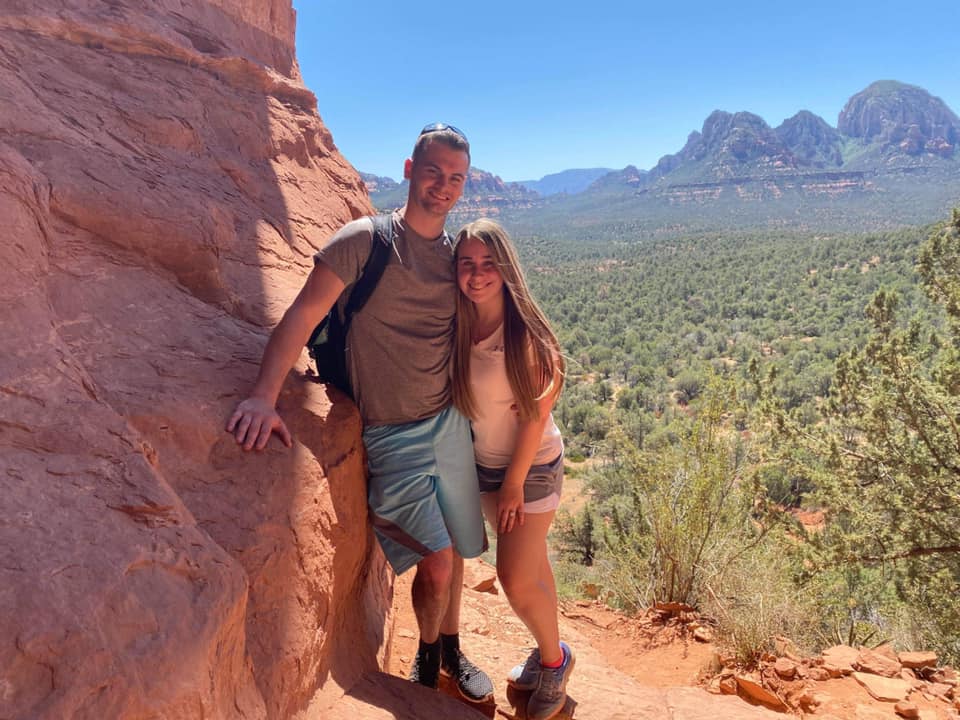
Day #6 Sedona Arizona- The Birthing Cave
Our last day on this amazing trip. The Birthing Cave was beautiful and somewhat difficult to find. It’s an unmarked trail and we actually took the wrong trail the first time where we ran into two wild boars… Justin thinks it’s a cool story… I thought we were going to die. So anytime you are hiking in this area, keep an eye out for wild boars.
You can find parking at the Long Canyon trailhead. We had difficulty finding the trailhead…. we first parked in a parking lot where you had to pay to park there. If you find this parking lot, you are in the wrong place. There is a small parking lot at the trailhead, but it fills up quickly. We ended up parking on the side of the road because there isn’t much parking. We highly recommend planning your hike as early as possible to beat the heat and the crowds.
The hike itself is a relatively flat 2 miles out and back hike. You will need to climb up some pretty steep terrain at the main end where you enter the cave. Although the hike itself is unmarked, it’s a popular trail which means two things. 1) You will more than likely be hiking the trail with several other people and 2) The path to the cave is well-kept. We are going to try to provide you with guidance; however, we do recommend having All Trails or another map to insure you do not get lost.
You will begin on Long Canyon trail which is the beginning of the Birthing Cave hike. If you have your phone or an apple watch, try to measure out when you’ve walked approximately .6 miles. At this point, you should be at a fork in the trail, take the trail to the left. It may look slightly less traveled but trust the process!
Once you have hiked almost a mile in, you will come upon another fork where you will once again hang a left. This may seem odd considering that when we went, there were some logs crossing the path. Just step over the logs and continue on the trail. Now, you should be able to look up to see the cave above you. The last bit of the hike is quite steep as you are going into the cave. The cave somewhat resembles a heart if you look up at it from the ground. We will warn you that there are several cacti that are on this steep portion of the hike. Watch your footing… and watch your hands! Poor Justin ended up getting pricked a few times.
Day 7: Going Home
We woke up bright and early on the last day to catch a flight back to Kentucky. We traveled almost 2 hours to the nearest airport which is Phoenix Sky Harbor International Airport (PHX). Now, it is important to remember that you are now dropping your car off at the PHX and not LAS. Therefore, Turo may not be a feasible option for this type of trip. We have only utilized Turo when we have picked up and dropped off at the same location. We have used Budget car rentals in the past with plenty of success!
When booking your flight, be sure to only book a one-way ticket to LAS and then a one-way ticket back to your home airport from PHX. Your car pick-up will be at LAS and your car drop-off will be at PHX. Super simple… but also super easy to mess up. Another easy part of this trip to mess up is booking your hotel dates. Double-check those to make sure you are only staying one night until you get to Sedona.
We hope you enjoyed our 7-Day Itinerary! We hope you have found it helpful and it has inspired you to take on this amazing adventure! Reach out to us on Instagram, which you can find on this website, if you have any follow-up questions about this trip. We are more than happy to talk to you about any of the trips we have taken! Reach out if you utilize our itinerary in any way to help you plan your trip! We would LOVE to hear from you. Safe travels y’all! -Justin & Caitlin